Managing certificate templates
As an administrator or a global Content manager (at platform level), you can manage certificate templates by clicking in the Administration menu on "Manage certificates":

You will arrive on an interface listing all the certificate templates:

You can click on the "Add certificate" at the top to create a new certificate template.
You will be offered 2 options:

Template option is advised for developers who developed a template file for the certificate appearance.
Most of the time you will select Wysiwyg, that allows to define a Label (the certificate name) and a Body (the content of the certificate).

A list of available Tokens is mentioned under the Body field. A token is a generic name that will be replaced with a real value when issuing the certificate (for example for the user's name, or the training's name, the training's completion date).

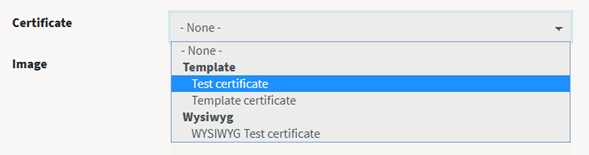
Assigning a certificate to a training
To assign a certificate to a training, you need to edit the training (see Edit a training) and then select the certificate you want to assign in the select list for "Certificate" field, in the first step of the Learning path manager.