As an administrator or a global user manager (at platform level), you can manage classes.
From the Administration menu, click on "Manage classes":
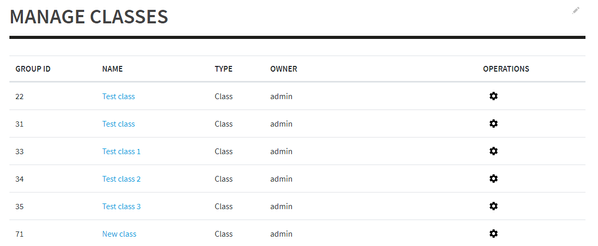
You will arrive on the following interface:
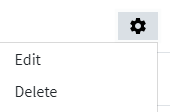
You can click on the wheel pictogram to the right of a class to select the "Edit" option:
The class management interface is composed of 2 parts (tabs on the left side). The first one allows to set the class' title and description:
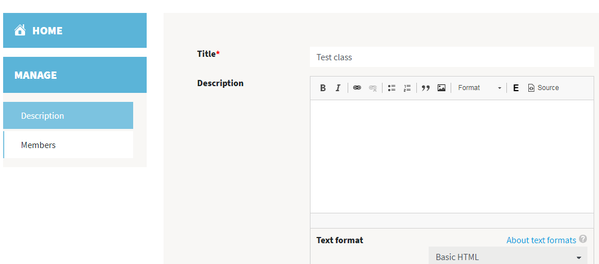
And the second tab allows to manage the members of that class.

Clicking on "Show" will expand the list of members, and allow to manage them (remove them from the class, or grant some permissions).
To add new members to that class, simply click on "Add members" button, and then enter a username, check the expected roles (most of the time you will check "Student"), then Save.

Checking admin role will allow the user to manage the class (adding new members for example).
Checking coach role will allow the user to see some statistics related to that class and its members.