![]()
Opigno LMS User manual
Add or remove users into a course
- Opigno LMS
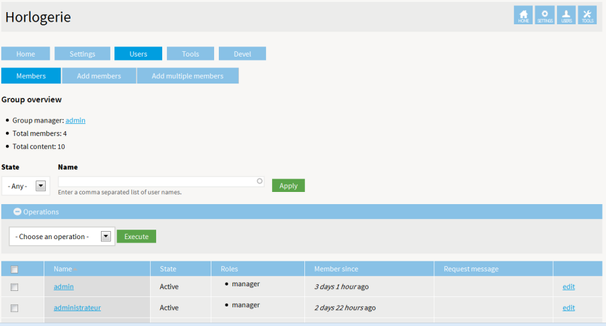
To manage the students of a course, you can go (as course manager or platform administrator) either into the class home page and click into the "Users" tab (third one from the left below)
or go into Opigno Administration area and click on "Course administration" ("Content" section). Then click on the "Edit" link for the class you want to modify.
You will get an interface presenting the list of users into this course, with their state (active, pending, or blocked) and their role.
An edit link will allow to modify or remove users.
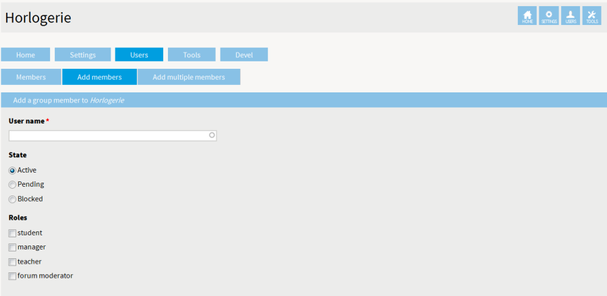
Add a single user to the course
At the top of this list, a button "Add members" allows to add participants to this course.
The interface is as below.
It makes possible to :
- type an username in the dedicated field. An "autocomplete" system automatically suggests the matching usernames considering the first letters you have entered.
- select the state (active, pending, or blocked). By default you will probably use the "active" state.
- select the role of the user
- save to register the user.
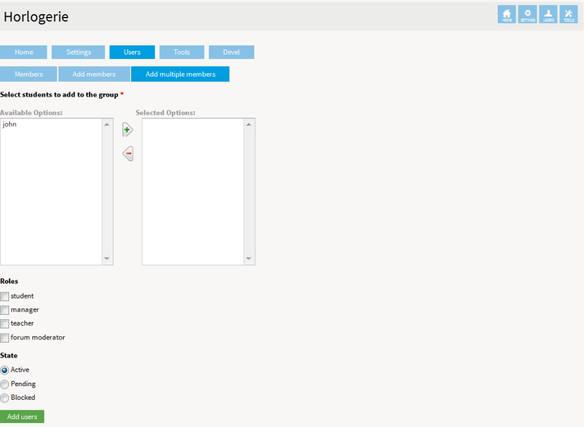
Bulk add users to a course
It's also possible to add multiple users. To do that, just click on "Add multiple members" instead of clicking on "Add members".
You can move the users from the "available" area to the "selected" area, then choose the role for these users and the state, and then save.
To learn more about roles and permissions, you can refer to this section of the documentation: Overview of the roles
Copyright 2008-2024 Connect-i. All Rights Reserved - https://www.opigno.org