![]()
Opigno LMS User manual
Create a training
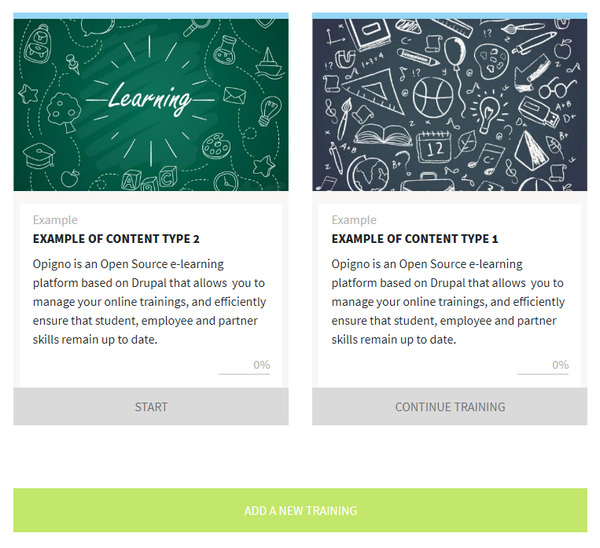
As an administrator or a global content manager (role at platform level) you can create a new training.
This can be done by clicking on the "Add a new training" button at the bottom of the training catalogue interface.
The whole process is guided step by step to make sure that you will have a fully operational training when reaching the end of the process:

There are 6 different steps:
- Create training: this is where you can define the main characteristics of your training (name, description, category, required time, ...), set the visibility settings, and unpublish the training (once it is created). You can learn more below about the available options in this interface.
- Structure the training: this is where you will define the architecture of the training (the main steps composing it). This will be explained in details in the next section of this documentation (Learning path manager). In case you want to learn more about Opigno's architecture of contents, you can also refer to that part of the documentation.
- Add modules to courses: this is where you will be able to add modules to the courses available in your training. In case your training doesn't contain any course, this step will simply be skipped. You will learn more about this process in that section.
- Add activities to modules: this is where you will be able to manage the activities in your modules. You can learn more at the dedicated section of this documentation.
- Enroll learners: at this last step you will be able to enroll new learners to your training, and manage the enrolled users when editing afterwards the training. This will be covered more in detail in the dedicated section of this documentation.
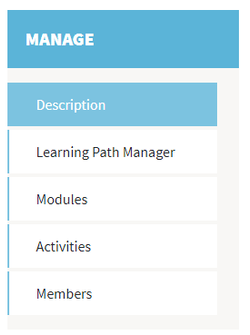
You can also see these different steps within the panel on the left side of the interface, that allows to navigate between all of them:
Once you completed a step, you can navigate to the following one by clicking on the "Next" button located on the top right side of the interface: 
When reaching the end of the process, you will be able to publish your new training by clicking on the following button: 
The training remains unpublished (and hidden to users) until you click on that button.
According to your level of permission, you may see less steps in that process (for example people with "User manager" roles will only see the last step.
Managing global training settings
You can manage the global training settings at the first step of the process described above.
Here are some explanations about the following settings:
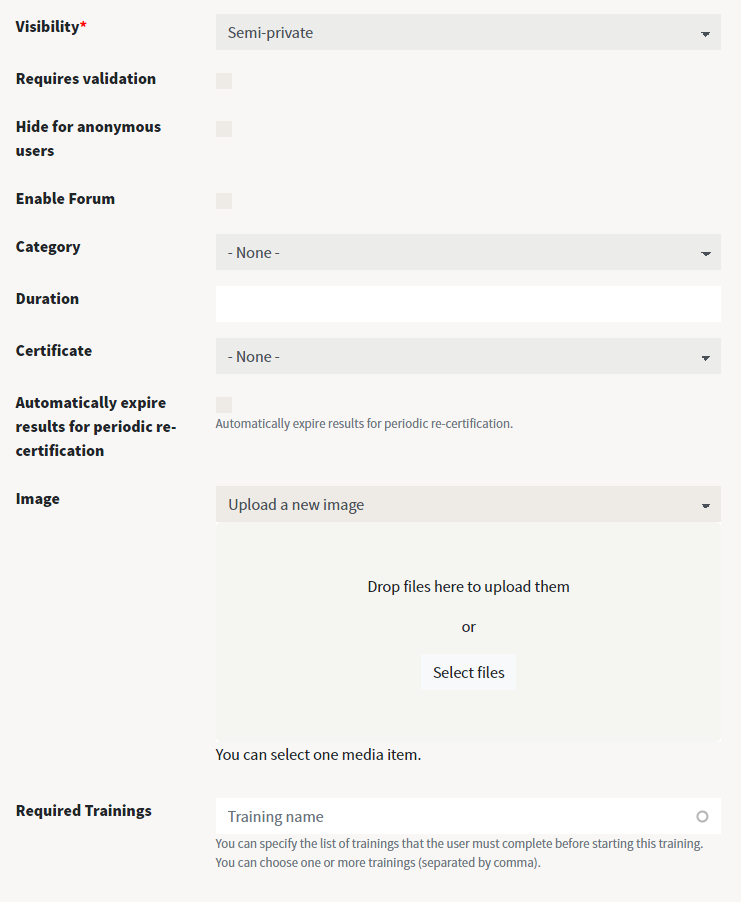
- Visibility: this setting defines the visibility of the course and the way to subscribe to it. There are 3 available options:
- Private: private trainings are not displayed in the training catalogue; users can only be registered by an administrator or a user manager, they cannot register themselves
- Semi-private: semi-private trainings are displayed in the training catalogue for authenticated users and also for anonymous users (except if the option below is checked). Only the main presentation page will be displayed to non-members, users will have to register to the training (and pay the amount in case of paying courses) in order to see the contents inside. In case of anonymous users, the registration will involve to create an account (or to authenticate).
- Public: public trainings are visible in the training catalogue for authenticated users and also for anonymous users. Anonymous users can take these courses (and see the contents inside) without having to authenticate or create an account. This is consequently some interesting option in case of demo training that can be seen by anybody, so that people can see a sample demo before creating an account.
- Requires validation: this setting is only available in case of semi-private trainings. In this case people registering to the training will be set pending until an administrator or user manager validates their registration to the training. Users with such permission will see a dedicated block in their Opigno dashboard that lists the pending registrations to courses. The validation of pending registrations is done from the "Member" management interface of trainings (last step of training management process).
- Hide for anomymous users: this setting is only available in case of semi-private trainings. If this is checked, the training will be hidden in the training catalogue for anonymous users, it will be only displayed to authenticated users.
- Enable forum: if this is checked a forum will be available within that training.
- Category: here you can select the category for that training, that will make possible to filter trainings in the catalogue.
- Duration: here you can enter the theoretical duration for the training. This is just for information purpose and will be displayed on the training's page. There is no feature behind that would for example limit the time spent by users.
- Certificate: here you can select a certificate for the training when successfully passed. You can learn more about certificates management here.
- Automatically expire results for periodic re-certification: this makes possible to manage periodic certification trainings, you can learn more here.
- Image: here you can select a picture for the training, that will be displayed in the training catalogue and on the training's homepage. For further details please refer to media management section.
- Price: In case you enabled the e-commerce feature, you will be able to enter a price for the training here. This is a one-time price, then users will have unlimited access to the training.
- Required trainings: here you can define one or several pre-requisite trainings. Users won't be able to start the current training until they successfully passed all the pre-requisites trainings.
Copyright 2021 Connect-i. All Rights Reserved - https://www.opigno.org