If you administrator enabled the collaborative solutions (learn more at Collaborative solutions), for every new training created on your platform you will have a "Collaborative workspace" tab on the training's main page.

A dedicated collaborated workspace will be created for each new training, with all the training members inside, and will be displayed in first position in the block on the left, that lists all your collaborative workspaces when you click on the "Collaborative workspaces" tab:
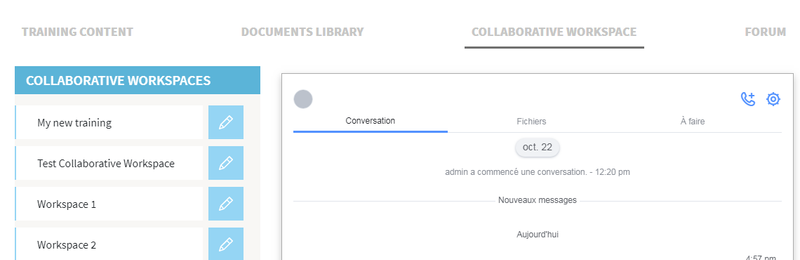
You can edit this collaborative workspace by clicking on the pencil pictogram close to its name.
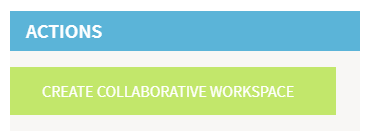
At the bottom of the left block listing all your collaborative workspaces, you have a button allowing to create a new collaborative workspace:
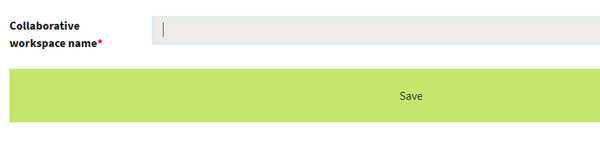
After clicking on that button you will simply have to enter a name for the new collaborative workspace and then click on "Save" button.
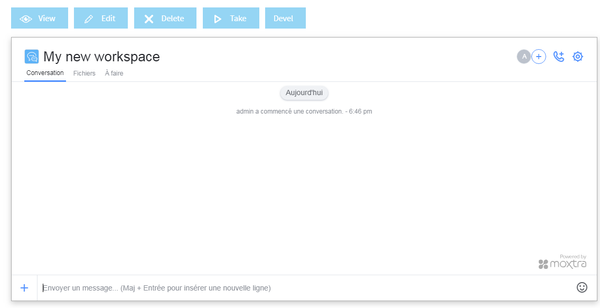
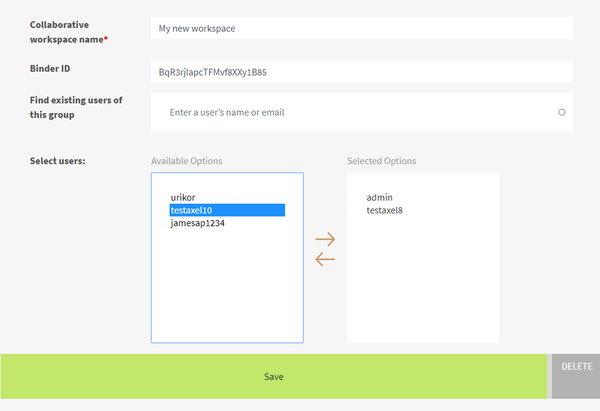
Then, to add members to that collaborative workspace (just one user or some users, or all the users registered to that training), click on "Edit" tab after you created the new collaborative workspace:
You will be available to select some users in the "Available options" box, and then move them to the "Selected options" box by clicking on the upper arrow between the 2 boxes.
| Info |
|---|
Note: only the users with "Collaborative features" role can be added to collaborative workspaces and appear in the "Available options" box. You can learn more about user roles at User roles. |