The user management interface in trainings
At the last step of the Learning path builder you can manage the users registered to the training.
The interface looks as below:

On top you have a search field allowing to search user among the ones registered to that training.
Then you have (if applicable) the list of classes registered to the training:
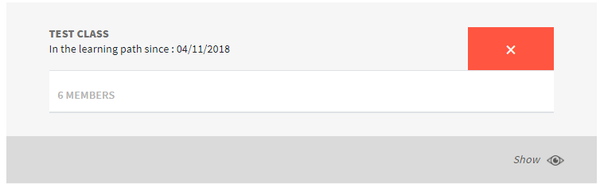
You can remove a class from the training by clicking on the "x" button on the right, and you can expand the list of class' members by clicking on "Show".
Then, at the bottom, you have the list of users that are directly registered to the training (without being part of a class):
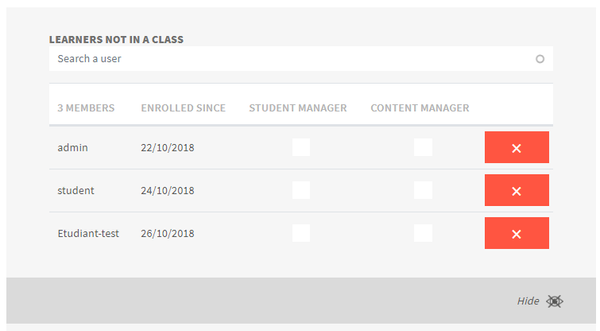
After clicking on "Show" to expand the list of users, you can remove them from the training by clicking on the "x" button on the right, or grant them local roles (at training level) to be Student manager or Content manager (you can learn more about roles at User roles section).
Register users to a training
Registering users to the training can be done by clicking on the "Add members" located at the top right side on the interface:
The interface is the one below:
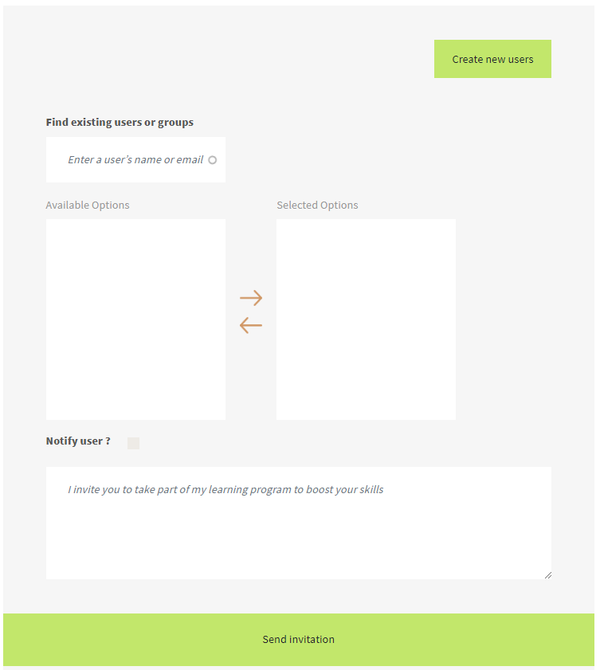
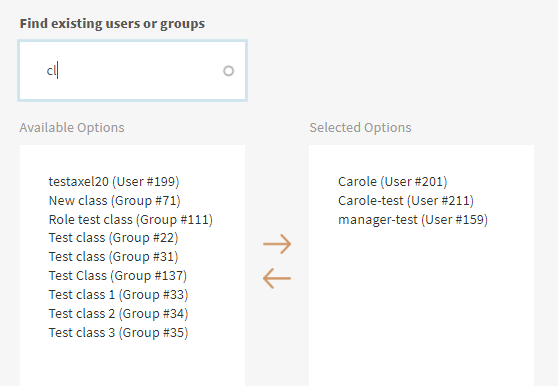
You can find users to be added to the training by entering the first letters of their name in the autocomplete field:
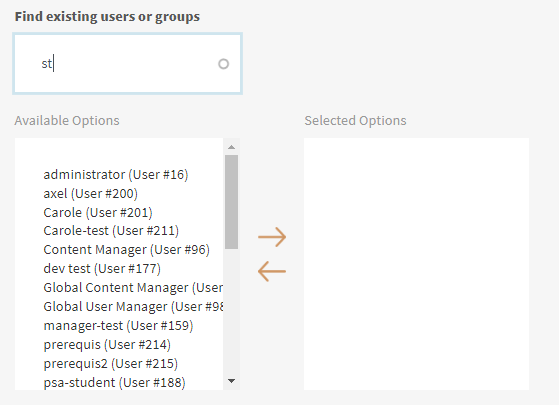
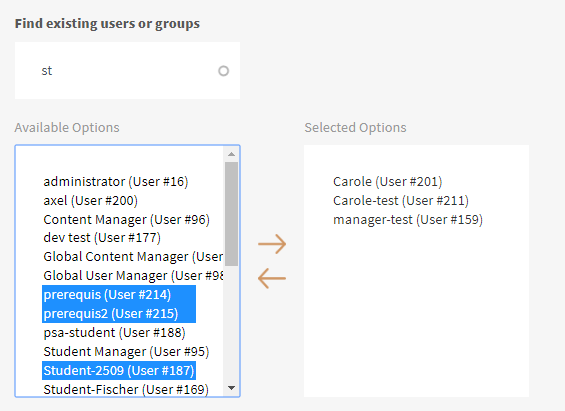
The users with matching usernames will appear on the "Available options" block. You can select one or more of them, and move them to the "Selected options" box by clicking on the upper arrow located between the 2 boxes.
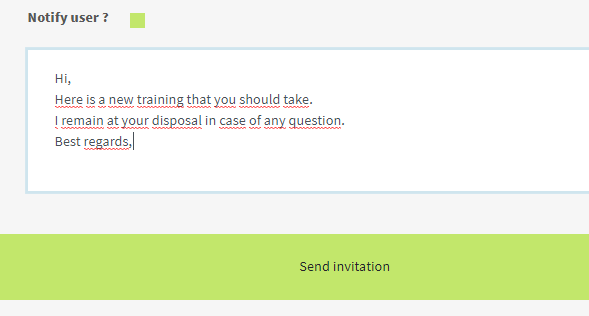
Then, you can click on "Send invitation" button to have the users added to the training. They will receive an automatic email notification to inform them of the new training that is now available for them.
Or, if you want to add a custom message, you can check the option "Notify users?" and then add a message below, before clicking on the "Send invitation" button.
In case you want to register to the training some users that still do not have any user account on the platform, you can directly create some user accounts from this interface.
To do that, you will have to click on the "Create new users" button at the top right side.
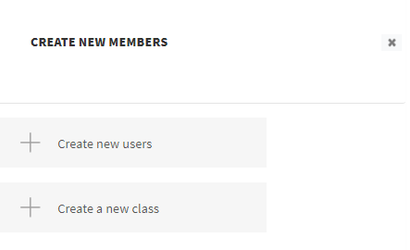
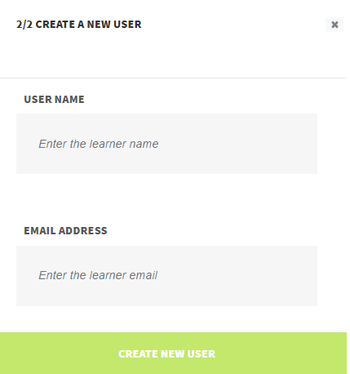
Then select "Create new users" in the popup that appears:
and then enter a username and email address, and click on "Create new user" acount. The user will be created and immediately added to the training.
He(she) will receive an email with a link to define a password for his(her) account.
Register classes to a training
Classes offer a convenient way to manage group of users, and directly register all of them to a training, without doing individual registrations.
You can add classes to a training in a very similar way to the process described above for users.
For that, you can enter the first letters of the class name in the automplete field, to see the classes with matching names appear in the "Available options" box. Then you can select one or several, and move them to the "Selected options" box by clicking on the upper arrow located between the 2 boxes.
You can then click on "Send invitation", or add a custom message before.
You can also create a new class from this interface, by clicking on the "Create new users" button at the top right side.
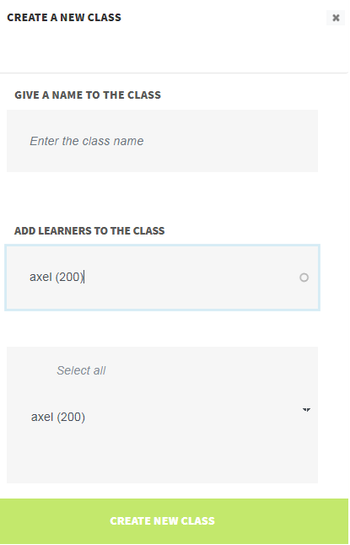
Then select "Create a new class" in the popup that appears.

You will have to enter a name for that class, and select the users to be added to this class by entering the first letters of their name in the autocomplete field, then clicking on the user you want to add to the class on the list that appears below. You can iterate that process to add several users to the class, the click on "Create new class" button. The class will be immediately added to the training.
Validate registrations to the training
Some trainings may required the registration of students to be validated (see more at Create a training page, at "Visibility settings" section).
As an administrator, or global user manager, or student manager for the trainign, you can validate such pending registrations.
To get a vision of pending registrations, you can add a block on your dashboard that will list all the ones related to the trainings you are allowed to validate registrations (learn more about how to add a block to your dashboard at Customizing the dashboard).
The block will look as below:
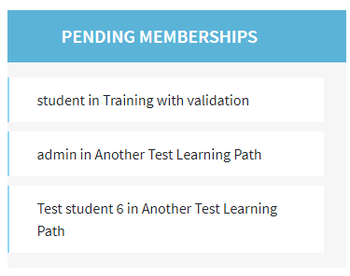
Clicking on one of the items in that list will directly lead you to the related training at the user management page:

The users who require a validation will have a "Waiting for validation" text in the "Enrolled since" column. You can directly click on that "Waiting for validation" text to validate that user's registration.