...
Live meetings can be created from step 2 of the Learning path manager.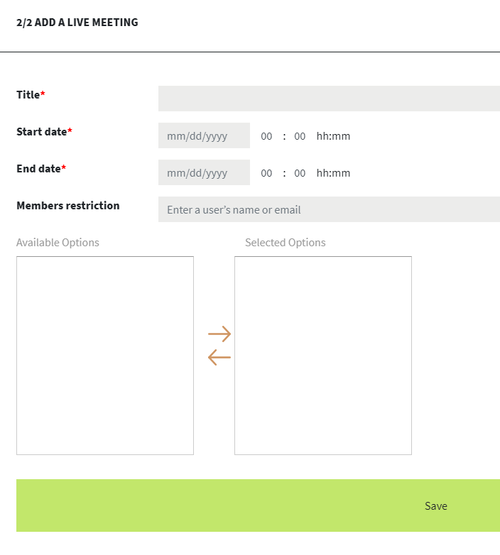
...
The creation form requires to enter a title, start and end dates, and some optional members restriction.
Start and end dates can be easily selected using a calendar widget.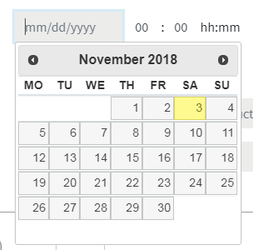
...
If no members members restiction is is defined, then all the users of that training will be registered to that live meeting.
You can also restrict this live meeting to some specific users. To add one user to the list of restricted ones, you first need to enter the first letter(s) of his name in the text field, to see the list of matching users appear. Then you can select one or several ones, and move them to the right box ("Selected options") by clicking on the arrow.
...
Once the live meeting is created, users will see notifications in the top right bar of the interface
...
and on the training's homepage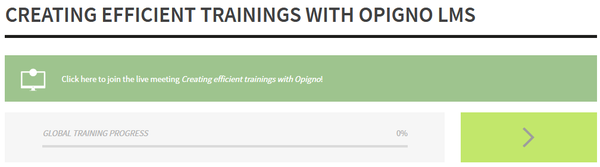
...
Start a live meeting
...
Then click on the "Start the live meeting" area: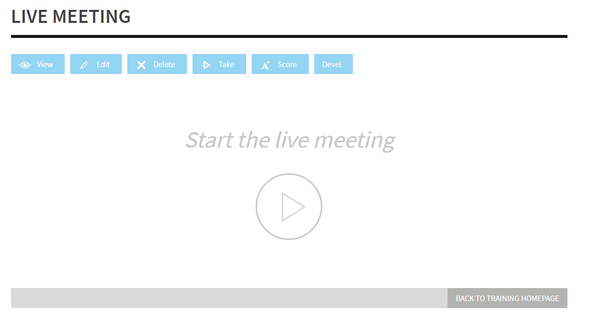
...
Live meetings are perfectly integrated to Opigno, and take place in the same interface.
...
You can manage in Opigno the attendance and scores of participants to a live meeting.
To do that, from the Administration menu, click on "Manage and score live meetings".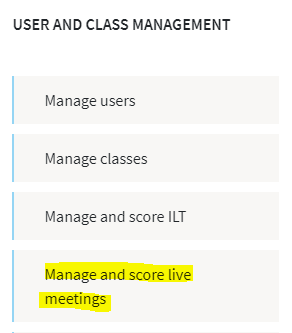
...
Then, for the live meeting you want to manage, click on the right wheel pictogram, and the select "Score":
...
You will be able to set the attendance and score for each participant: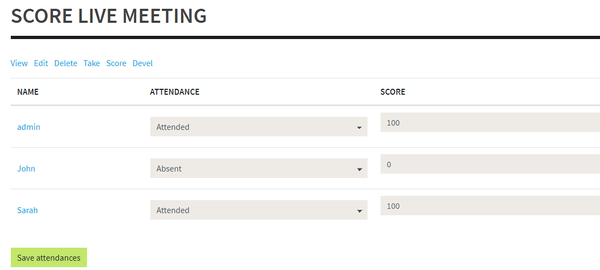
...
Note: attendance is automatically retrieved by Opigno for the users taking part to the live meeting.
...